I’m a little later than I would have liked posting this recipe, but it has given us time to try these out. Let me tell you – they turned out FANTASTIC! If you enjoy a few jalapeño slices on tacos or nachos, and have been using the “store-bought” variety, you will be amazed at the taste of your own homemade Pickled Jalapeño Peppers. We have already used up a couple of our jars!
We had quite the abundance of jalapeño peppers this year, so it was the first time I’ve decided to can them. In previous, years I would only have enough to use in a few recipes, or possibly in homemade Salsa, but this year we had a bumper crop. Canning these was surprisingly EASY (and I usually hate getting out all of the canning supplies), especially if you use small jars (so you don’t have to have such a HUGE amount of water for processing them).
Other than slicing these, filling the jars, and pouring in your vinegar solution, there is very little prep-work involved. I did add a clove of garlic and a very small amount of coarse (pickling) salt to my jars before filling with the jalapeño slices, but otherwise, the list of ingredients is very small.

If you decide to use these jalapeño slices right away, and the peppers you had were especially HOT, they will retain a lot of heat. If you wait a while to eat these (a few weeks or longer), their heat will start to mellow.
Notes
It is usually recommended that you wear gloves when working with hot peppers. Avoid touching your eyes!
Ingredients
- 10 cups Jalapeno Peppers, sliced into 1/8" thick slices (approx. 2-3 lbs.)
- 2.5 cups white Vinegar (5% acid)
- 2.5 cups Water
- 1 teaspoon coarse (pickling) Salt
- 7-8 whole Garlic Cloves, peeled
Instructions
- Sterilize 1/2 pint (250 ml) canning jars, lids and rings.
- Meanwhile, put the vinegar and water into a medium saucepan, and heat until almost boiling.
- Put a pinch of the coarse salt, and one clove of garlic into the bottom of each prepared jar.
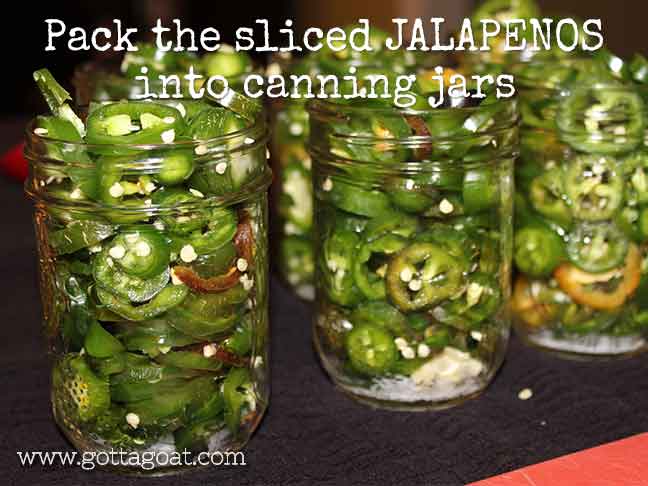
- Pack jalapeño slices into the jars - each jar should contain approx. 1.5 cups of the slices.
- Pour the hot vinegar mixture over the pepper slices in each jar, filling to 1/2" from the top.
- Carefully press the peppers down in the jars (a bit tricky to do, but just make sure they will not push up the lid).
- Wipe rims of jars with a clean, damp paper towel, place on lids, and tighten.
- These can be kept in the refrigerator for several weeks.
Or, to can your jalapeño peppers:
- Using a boiling water canner, fill with enough water to cover all jars, and bring to a boil. Canning jars and lids can be sterilized in the canner prior to using, or using your dishwasher.
- Place filled jars on rack in canner, and add additional boiling water if needed, to cover jars by at least one inch.
- Cover and bring water back to a full boil.
- Once the water is boiling begin timing.
- The peppers should be processed for 12 minutes.
- Turn off heat and leave jars in water for an additional 5 minutes.
- Remove jars with a jar lifter and let cool on the counter (I usually put mine on a towel).
- As the jars cool (usually over several hours), you will hear the lids "pop" as each seals.
- To check for seals, the lids should have popped down in the centre, and will not move when pressed.
- If any of your jars do not seal, you can put them in the fridge and use over the next couple of weeks.
- Jars should be labeled and dated, and kept in a cool, dark place.
- Typically, your home-canned goods should be eaten within a year.


Leave a Reply