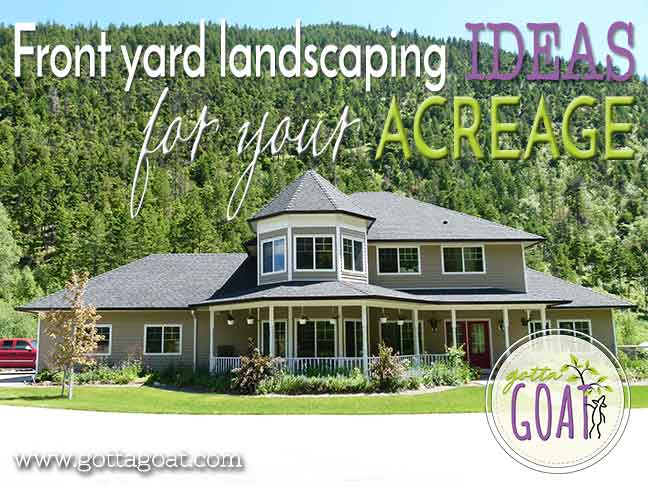
Tackling your front yard landscaping can be a daunting task, especially when faced with a large property or acreage.
Where do you start?
If you are fortunate enough to have some hardscaping (driveway, sidewalk, pathways) already in place, it gets A LITTLE easier, but it still takes time to design something appealing that ties into the style of your home. Starting off with bare land can be overwhelming!
We were faced with just bare land on our acreage. Coming up with ideas (and the time and budget to implement them) took us some time. In fact, we put off this task for a few years, and focused on the more functional things first, like our GARDEN!
When we finally got around to starting the front yard, it was overgrown with weeds, and had some of the plants from previous attempts to create the cottage style garden we wanted in front of the house. Several of those first plants had been eaten by deer (even though they were SUPPOSED TO BE deer resistant), or had been dug up by voles and gophers (a big problem we still face here). We decided that in order to get this project done, we had to take a different approach, so we decided to break it into steps. Seeing some kind of progress with each small piece was what helped keep us motivated!
Let me share some of the ideas we had for our own front yard landscaping, and how we turned bare land into a welcoming entrance to our home.

The Driveway
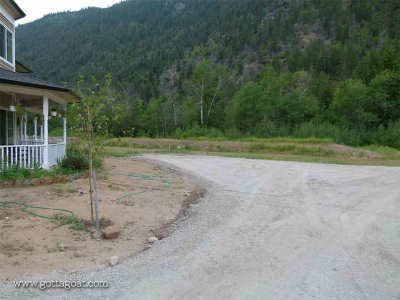
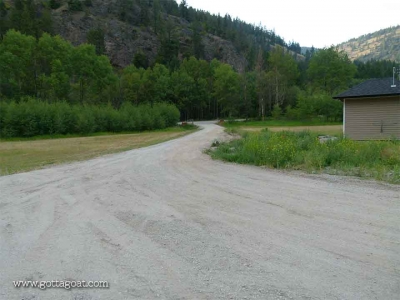
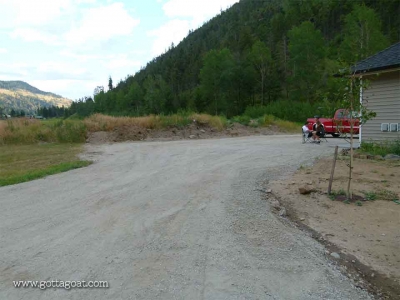
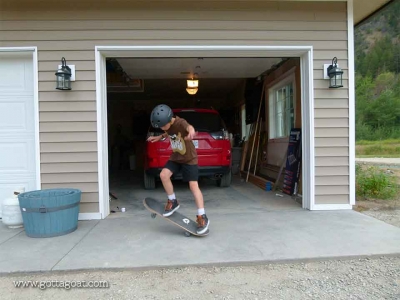
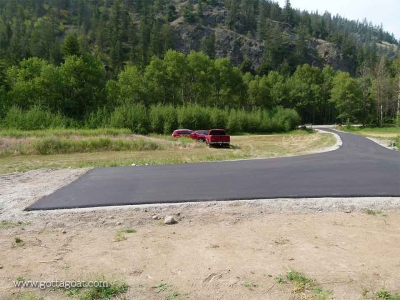
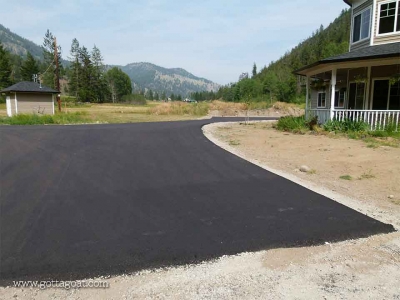
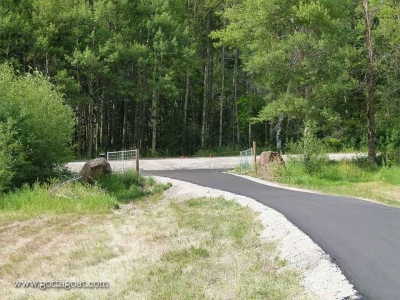
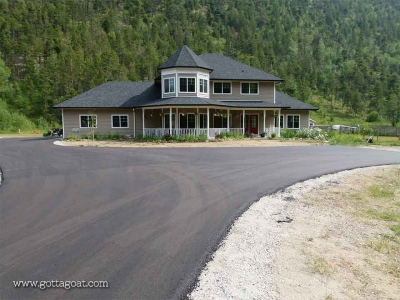
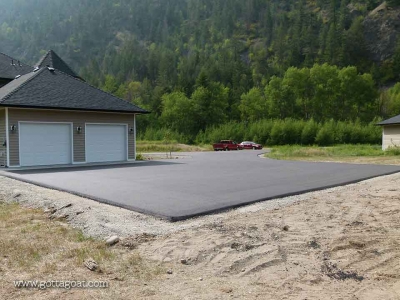
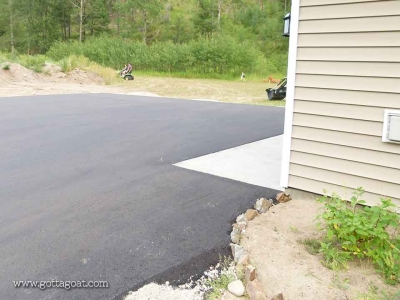
So, our first step was to figure out the driveway. After a couple years of plowing a huge amount of snow from a rough gravel driveway, we decided that a paved driveway was an investment we needed to make. Plus it gave the kids a place to skateboard and ride their bikes, and visitors a place to park.
What the driveway also did was frame the front yard, making it easier to plan out the rest of the design.
Click the thumbnails below to view larger images…
The Front Flower Bed: Our Cottage Style Garden
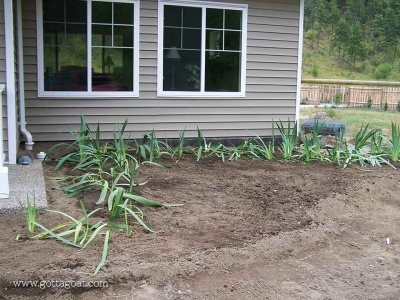
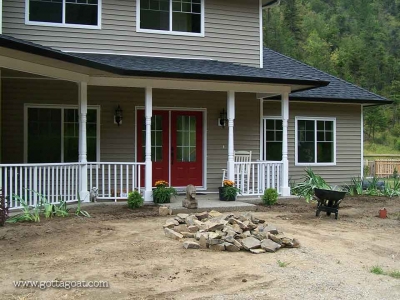
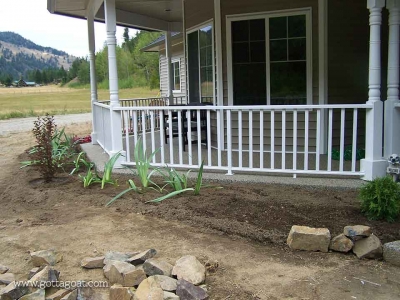
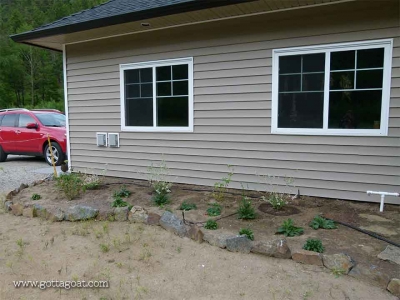
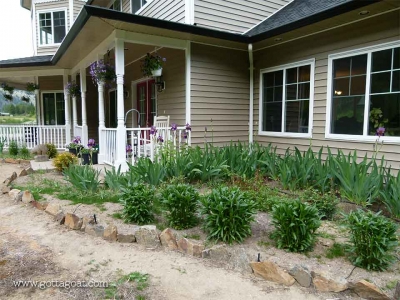
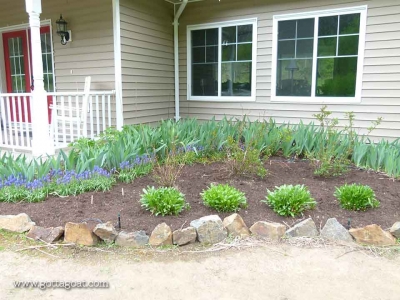
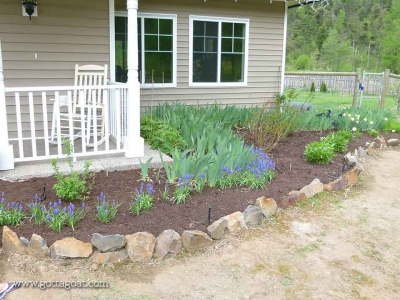
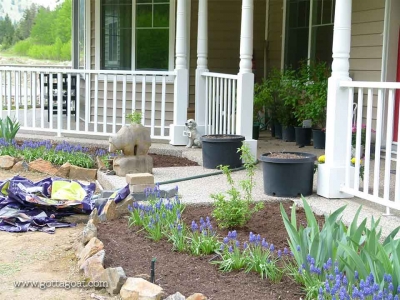
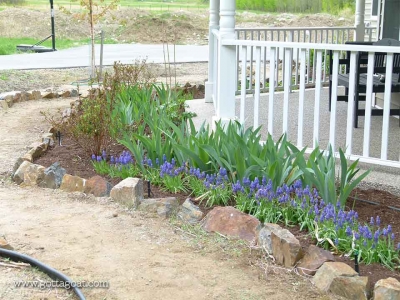
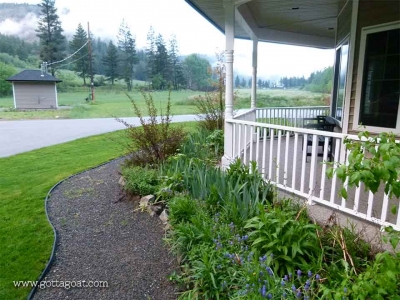
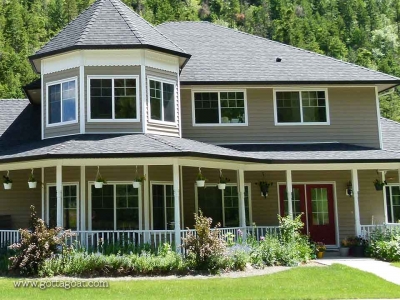
We had already started the front flower bed a few years earlier, as we always knew we wanted this bed along the front of the house. We edged the bed with rock we collected from our property. This bed is 5-6 feet wide along the left front side of the house, and on the front right, we made the area a little larger, so the bed there is roughly 12 feet wide.
We planted a number of perennials and shrubs, to create the cottage style appearance.
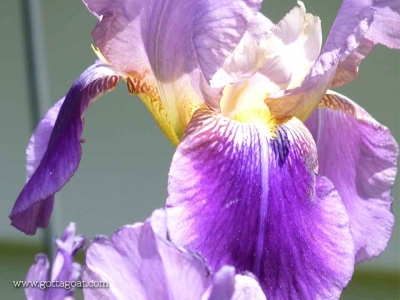
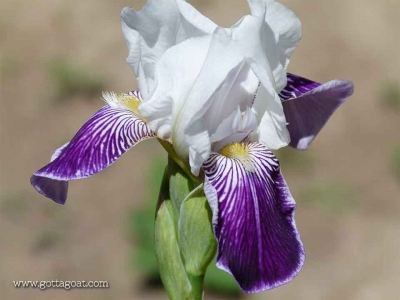
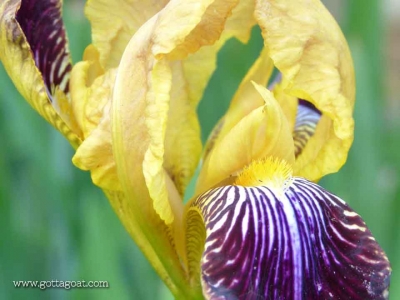
- We started with Purple Irises that we were fortunate enough to have been given by my mom and step-dad. They brought over a HUGE box of iris roots that they were given by a friend, as they didn’t have enough space at their house to plant them all. We even ended up with a few different colours in the mix.
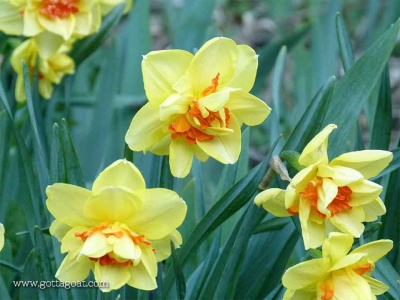
- We edged the bed with Grape Hyacinth bulbs, and added a few Jonquil bulbs for early spring colour.
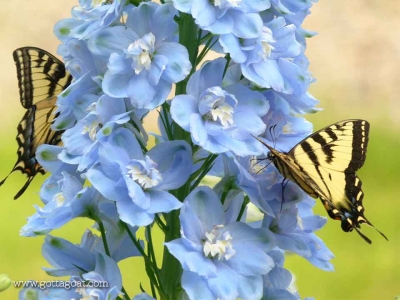
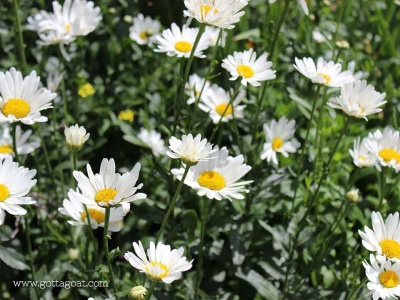
- We also included several old-fashioned plants in mostly purples, blues, and whites (such as Bachelor Buttons, Delphiniums, Columbine, Jacob’s Ladder and Shasta Daisies), some spreading, perennial ground cover plants, and Diabolo Ninebark shrubs on the corner points of the bed.
- We also have a black flowering variety of Hollyhock, some Foxgloves that come back every second year, and few other perennials.
- We allow the plants to self seed, so the end result, although it has structure, is a quaint, informal mix of many different plants.
- They provide a wonderful show of colour throughout the spring and summer, and the new plants that come up each year certainly surprise us!
- We’ve even had some stray Campanula (Bell Flowers) that popped up everywhere this year (whose seeds must have been brought from the back yard by the wind or a bird).
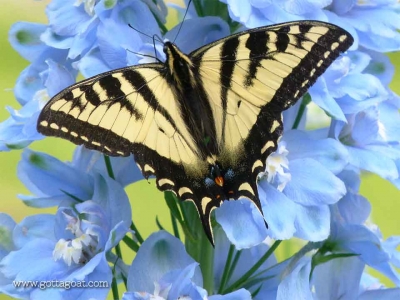
- This flower bed is also great for attracting bees, butterflies and my favourite – hummingbirds!
Click the thumbnails below to view larger images…
The Pathway
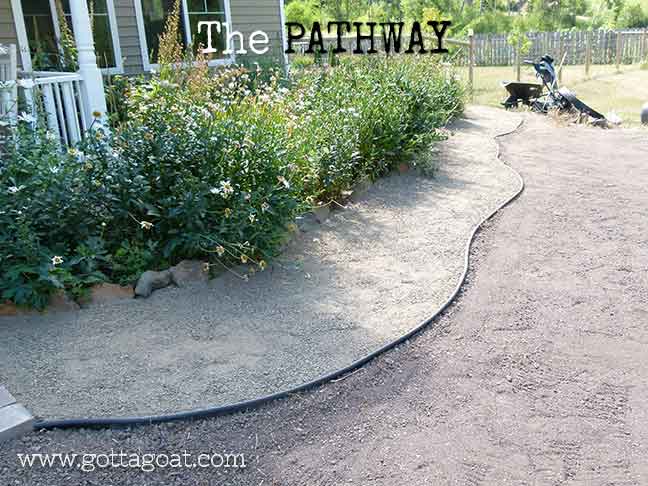
As an added feature in the front yard, we created a winding pathway along the front of the flower bed. It is about 3 feet wide, and extends the entire length of the front yard. We wanted an informal looking path, so we chose to use a crushed gravel, which was installed over landscape fabric.
The cool thing about this path is that we had previously sold some of the rock from our quarry to a local aggregate supply company, which they had crushed down into landscaping gravel. We managed to get a hold of some of the finer “crusher run” gravel from them (which was made from our rock). This rock stays a beautiful dark colour when crushed, and as it is from the same rocks that were used for edging the bed, it blends nicely into our design.
We originally started edging both sides of the path with rock, but didn’t like the overall look, so we ended up using flexible plastic lawn edging for the side next to where the grass would be.
Irrigation
In order to keep the garden beds watered, and the eventual front lawn looking good, we installed an irrigation system. The main water line for our irrigation is located at the front of the house, so we ran two branches of PVC pipe off the main line, each with manual lever valves to control the different “zones“. For the garden bed, we used a low-flow irrigation system, which has the small sprinklers connected by 1/4″ flexible poly tubing, attached to a 1/2″ poly tubing main line. This system runs along the length of the flower bed. For the lawn, we dug in PVC pipe, with pop-up sprinklers installed along the edges. Our local irrigation supply store was very helpful in making sure we had adequate coverage for the space, and helped us in choosing the right sprinklers for our irrigation layout.
The Lawn
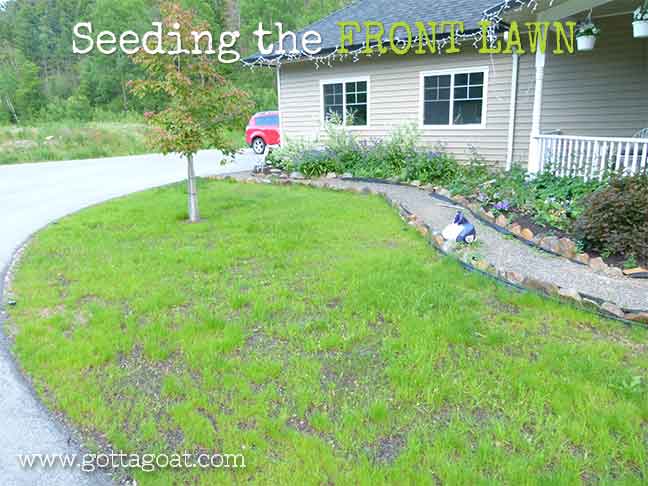
Although it does take a bit more maintenance than some other landscaping solutions, we love the look of a lush lawn in front of the house. As we kept this area relatively small, it is not TOO much work to keep it looking good. We seeded half of the lawn in the spring, then over-seeded a couple more times during the next few months (pulling any young weeds that popped up). This really helped the grass become established during its first year. The other half of the front lawn was seeded in the late summer (after we completed our front walkway), and it managed to do equally as well. We usually had trouble with seeding lawns in the past, but in just over a year, our front lawn has come in thick and green (so it really can be done)!
Accent Trees
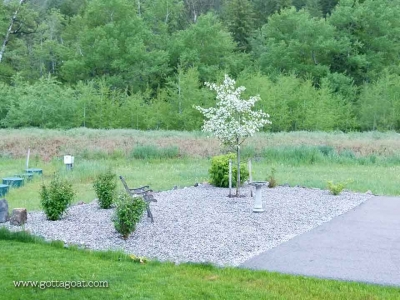
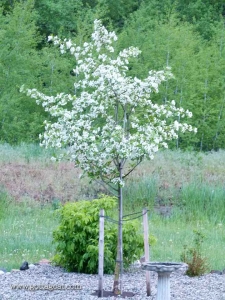
We are surrounded by trees on our acreage, but we wanted to have an accent tree in the front yard. We bought a Snowbird Hawthorn tree with double white flowers, as it was suitable for Zone 3, and also contains spiky thorns, which discourage deer from munching on it. After planting the tree in the late spring, it soon lost all of its leaves, and looked like it had died! The garden centre wouldn’t take it back (as we had not purchased their “special fertilizer” to use with it), so we were forced to purchase something else as a replacement. On the off chance it might come back to life, we moved the tree and planted it in another location.
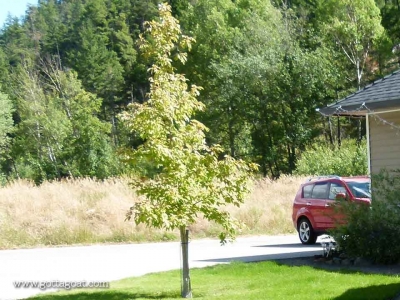
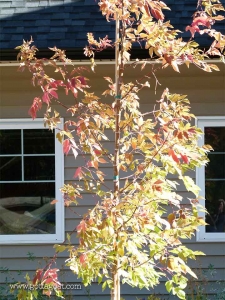
The “replacement” tree we chose was an extremely hardy, fast-growing Sensation Box Elder tree. We chose this tree for its ability to tolerate harsh growing conditions (we get a lot of wind, cold weather, and snow), and its wonderful fall colours. Its new leaves are red-tinged as well, so it is very showy throughout the year. So far this tree has done very well, and does not seem to be bothered by any wildlife.
We created a small space in front of the driveway parking pad which we covered with gravel, where we planted our “dead tree“, along with a few Lilacs, and some other small shrubs. Amazingly, the tree came back the next year! This year, it was covered with big, beautiful flowers in the spring – which was exactly what I had wanted in the first place! So happy!
Click the thumbnails below to view larger images…
The Front Walkway
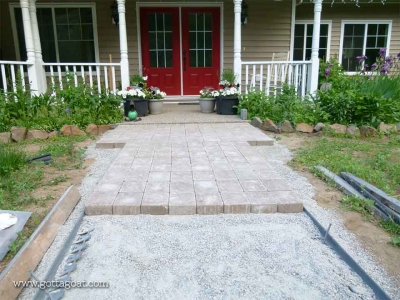
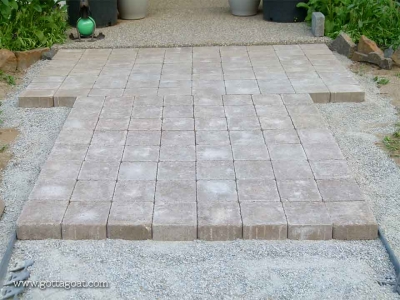
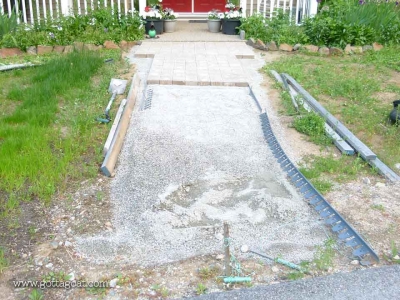
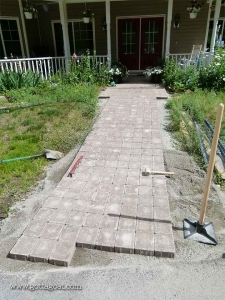
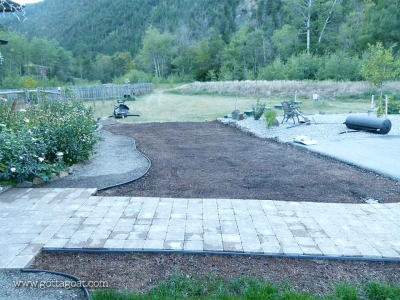
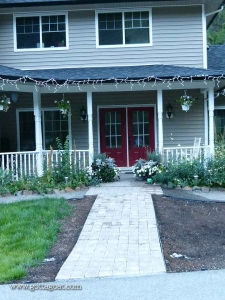
One of our final projects to complete the front yard landscaping was the walkway from the front of the house to the edge of the driveway. We wanted this to be a more formal structural component, as it is a focal point leading to the front door. We decided on using pavers for this walkway.
We bought a few samples of several types and colours of pavers, and laid them out in front of the house to see how they looked up against our front porch. We chose a rustic roman paver, in a taupe colour, as it seemed to tie into the colours of the edging rocks, the front porch and even our house siding colour.
Our walkway has a 6 ft. x 4 ft. section next to the front porch (and also where the pathway joins to it on either side), and the remainder of the walkway leading to the driveway is 4 feet wide. Due to the curve of the driveway, we had to cut the last row of pavers at angles to fit.
Click the thumbnails below to view larger images…
The Finished Front Yard
So, there you have it! We finally finished our front yard landscaping – and we are very proud of our efforts. We still have a lot of additional work to do in the rest of the yard, but at least our main entrance now has some “curb appeal”. We hope you’ll find some of our landscaping ideas useful for your own acreage!
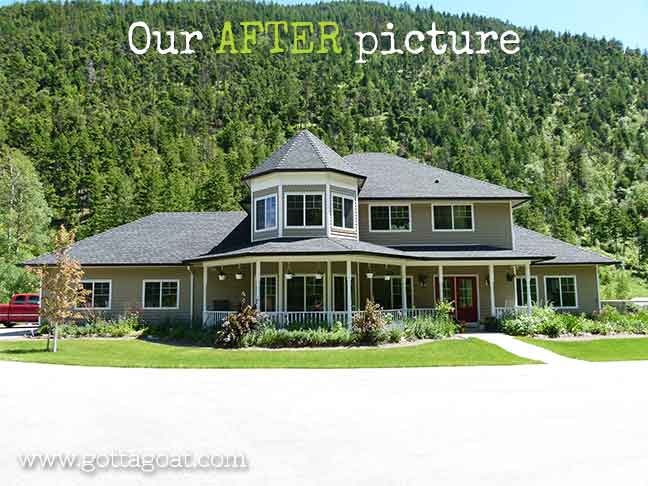


Remember don’t crowd your front yard with lots of objects or plants. Have a clear structure to the design and a focal point.