
One of the first tasks we had to take on (even before tackling any landscaping), was starting the garden. I have to admit, one of my weaknesses is freshly dug potatoes (of course with a generous dollop of butter and garden chives). So, once the ground had thawed, we set off to till up a patch of the hay field and start a small version of what the vegetable garden has become today.
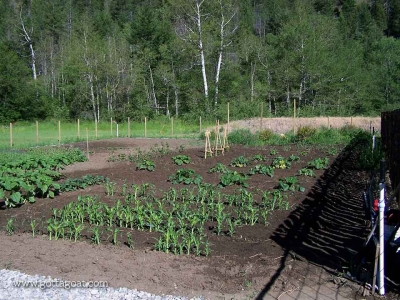
That first year we dug up a 30 ft. x 30 ft. area, pulling out as much grass as we could, raking out the remaining dirt, and supplementing with bone meal. We planted a number of different types of seeds and starter plants to see what would – or wouldn’t – grow here.
Our climate zone was a bit tricky to figure out. We are only about 20 minutes outside of Penticton, British Columbia, which is primarily a Zone 5. However, our altitude here is quite high, and we get a TON of snow. Our temperature does get quite a bit lower here during the winter. It is not uncommon to get to -25° C (we even reached -35° C the year we moved here). So the best I could figure is we are somewhere between a Zone 3 and 4. But I had kept my hopes high that first year, and planted a few more sensitive fruit trees – a couple varieties of cherries, and a cute little “fruit salad” tree (which has apricot, peach, and plum branches grafted on it). To this day, the trees are doing well, but we don’t get much fruit. We always seem to get a late frost that kills off the buds before they can get a start. This year was exceptionally warm though, and we actually had one peach, a half-dozen plums, and about four cherries. Oh well, there are some great fruit stands not too far away, so I guess I’ll have to settle for that, and stick with a little more cold-hardy crops that will grow here.
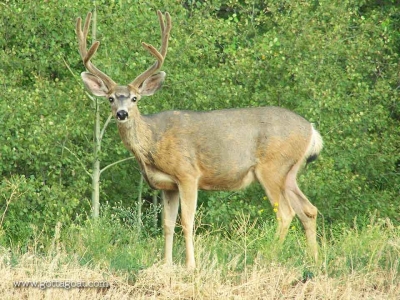
That initial garden did well, as we are fortunate to have some good topsoil on our property. So the next year we expanded and started working out our garden design. However, it wasn’t long before some hungry deer found the vegetables, so a perimeter fence quickly became a priority in our planning. It is really sad when you go out to water the garden and find half of it eaten (before you even get a chance to pick the vegetables you’ve spent months taking care of)!
Fencing
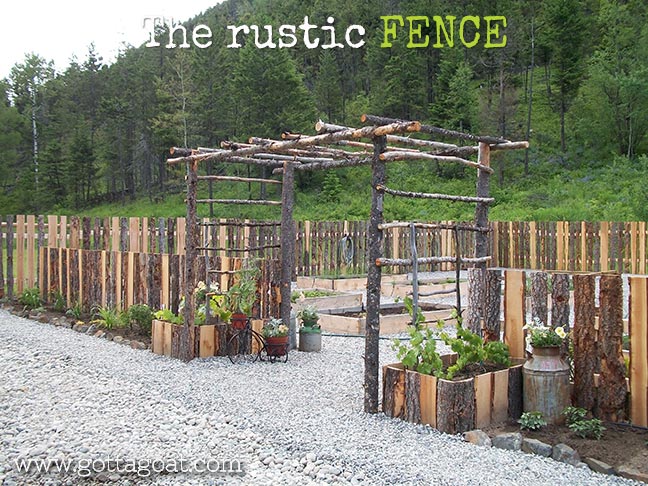
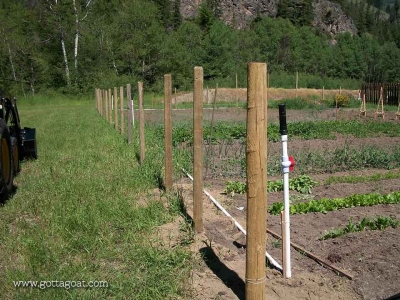
I am really proud of the fence we built around the garden! It was a project I started when stuck at home for several weeks due to some health issues. It certainly kept me busy, considering the amount of fence that had to go up!
- We used 7-8 ft. treated fence posts (most were picked up through “deals” we found from local vineyards, lumberyards, and even garage sales).
- We used standard 2″ x 4″ lumber for the fence rails.
- The boards we used for the fence were amazing! A local lumberyard sets out piles of their scrap lumber as “free firewood”. These pieces range from 8-16 ft. lengths, and many are covered or edged in bark. They are a variety of pine, fir, and cedar. Although they are not always the same width or thickness, we decided to use these as our fence boards, to give our fence a “rustic” look. As this wood is up-for-grabs to the first ones who get there, we would drive by daily, hoping to be there when they put out a new pile. It took a while, but we managed to collect enough of this wood for our entire fence. We cut these boards to 65″ lengths for the perimeter fencing.
- Although the bark falls off in places, and the boards have a few splits in them, they are still holding up well (and it seems to keep the deer out – which was our primary intention).
- To divide the main garden from the raised bed area, we installed a shorter 42″ fence. We used fallen trees (fir), collected from around the property, as the fence posts for this section.
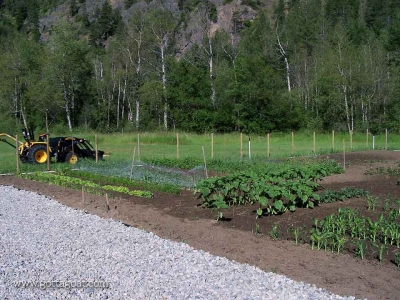
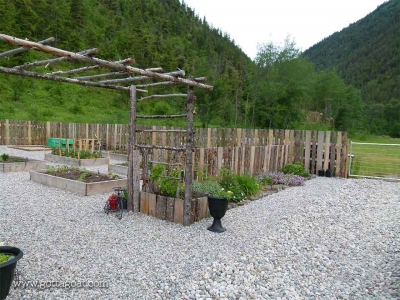
- In front of this fence section, we added a small perennial garden, with a few shrub roses (and even a fragrant wild rose that showed up in there, which has now grown quite large). There is also a pea gravel walkway in front of the perennial bed, and a 10 ft. drainage trench covered with drain rock to help with our spring water run off when the snow thaws.
- The drainage trench extends the width of the garden, and also through our backyard. We have 10 ft. farm gates on either end, so it allows us to drive the tractor or even the pickup truck into the garden when necessary.
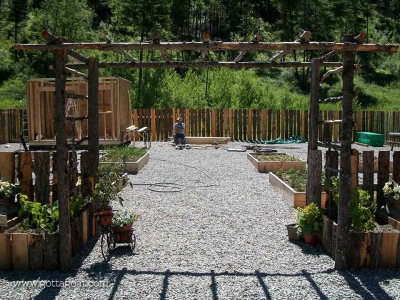
- We created an arbor across the entrance to the raised bed area as a focal point. It too was constructed from fallen trees and branches. At the base of each of the arbor sides we made planter boxes using some of the fence board scraps.
The Garden Design: Main Garden Bed
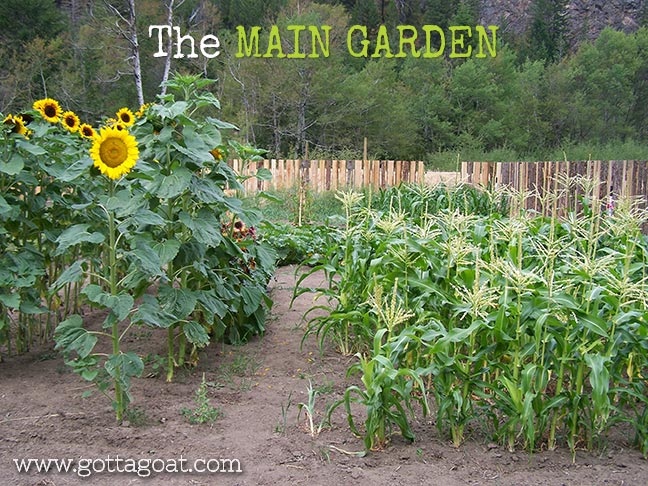
We decided that we wanted a large garden bed for the majority of the annual crops: potatoes, summer and winter squashes, peas/snow peas, beans, carrots, sunflowers, etc. We also wanted raspberries, and given their habit of spreading, we decided to put them in the main garden bed. To keep it easy for rototilling around them in the spring and fall, we planted two rows of raspberry canes down the centre of the garden. I actually got them by mail from Costco (25 canes), and they have grown into a rather large patch now (5 years later)!
- The main garden bed is 80 ft. x 60 ft.
- Rows for vegetables are 20-25 ft. long, with 36″ between rows (to leave room for rototilling with a rear-tine tiller throughout the season).
- Squashes (both summer and winter) are planted in hills, approx. 30″ in diameter, with five seeds per hill. Hills are spaced 36″ apart from each other.
- Potatoes are planted 8-12″ deep, and spaced 1.5 – 2 ft. apart in the row. Rows are spaced 36″ apart. We hill our potatoes throughout the season, adding more dirt alongside of the potato plants as they grow.
- We designed and built the irrigation system for the garden. For this area, it consists of six raised rotary sprinklers (three sprinklers on each of the long sides of the garden), with individual shut-off valves. They are connected using 1″ PVC pipe as the main line, and a “T” where each sprinkler is located. There is a main valve to control the water supply to this part of the garden. We also put a hose connector on this line, for when we need additional hand watering.
Soil
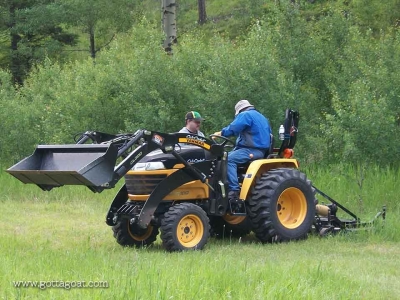
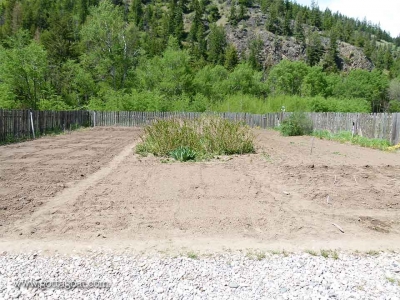
- For the soil, we rototilled the first smaller garden plot with our rear-tine tiller (walk behind), but after our first year, we got our Cub Cadet tractor with a tiller attachment, which made the job go a lot quicker for the final garden plot. The soil was tilled and we manually raked out as much of the grass as we could. We still find some larger rocks on occasion, but the ground has worked up well over the past few years.
- We supplement occasionally with bone meal, peat moss, grass clippings, and manure.
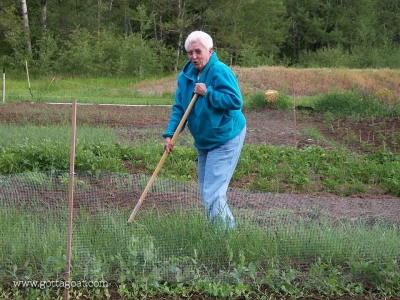
- We still get weeds popping up, but regular tilling (and occasional hand-pulling) helps to keep them (mostly) under control during the growing season.
- At the end of the season (before it snows), and again in the spring (after it thaws), we rototill the whole garden, making a couple passes each time. This loosens up the soil, making it much easier at planting time. We also till back in a lot of the old plant matter, such as squash vines, sunflower heads, even old pumpkins. It makes for an interesting garden each year, especially if we let the “volunteers” grow from the seeds that we tilled in! This year we let the wild sunflowers and pumpkins take over a large section of the garden.
- It is important NOT to plant the same crops in the same position, so we are careful to rotate the crop locations each year. This helps to ensure we don’t deplete the nutrients in the soil.
The Garden Design: Raised Beds
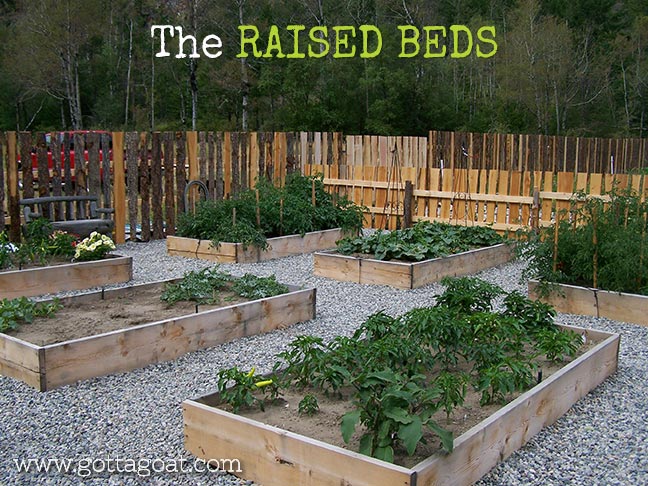
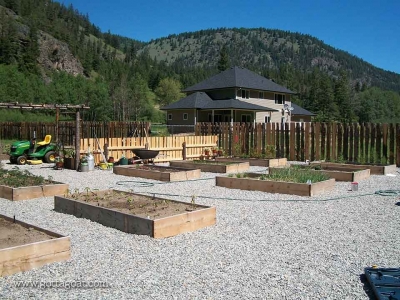
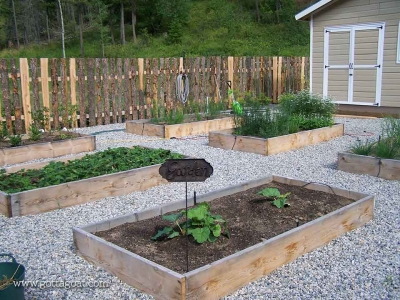
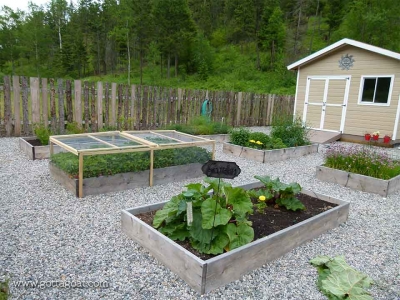
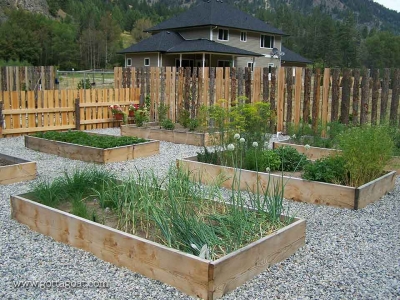
As I enjoy working in raised beds (plus, I really like the way they look), a large part of the garden was set aside for these. These are used for our other perennial crops such as blueberries, and herbs, as well as some that don’t require large rows, such as lettuce and tomatoes. We also test out a few other unique vegetable varieties (or even flowers) in the raised beds. Given their smaller size, they provide us with the flexibility to add extra frost or insect protection for our plants when needed.
- We have 12 – 4 x 8 ft. raised garden beds.
- The raised beds were constructed from 2″ x 10″ untreated lumber (which we got as “cull” lumber – much cheaper, although not always the greatest quality).
- Since we chose untreated wood, we just nailed the corners together (using a framing nailer), as we expect to have to replace some of the boards after a few years anyway.
- Around the beds, we put down landscape fabric, and covered the entire area with pea gravel.
- We chose a low-flow irrigation system for the raised beds. We have our 1″ PVC main water line extending from the main garden bed. We installed a hose connector at the end of this line for hand watering. Off this PVC line, we installed another valve to control the water flow into the raised beds. We attached a flexible, 1/2″ pipe as the main line for the raised beds, and ran 1/4″ tubing to each of the beds. Using low-flow fittings, we installed a shut-off valve for each bed, as well as two 180° sprinklers (on risers) on either side of the beds.
Soil
- When we first set up the raised bed area, we rototilled the entire space, raked out as much of the grass as we could by hand, and then went over the area with a lawn roller several times (the kind you fill with water). This helped to level things out, making the rest of the project much easier.
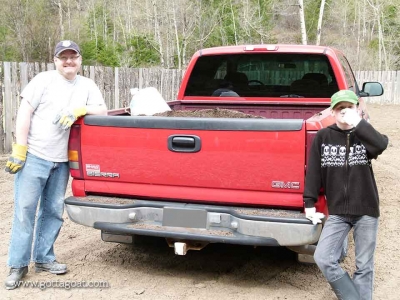
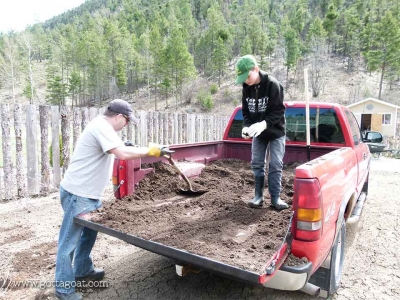
- We had a load of garden soil delivered, which we used to fill the raised beds.
- Each year we also top up the raised bed soil with a couple of bags of soil that we purchase from garden centers at the end of the season.
- We supplement the soil each year with bone meal, peat moss, compost, and grass clippings.
The Garden Shed
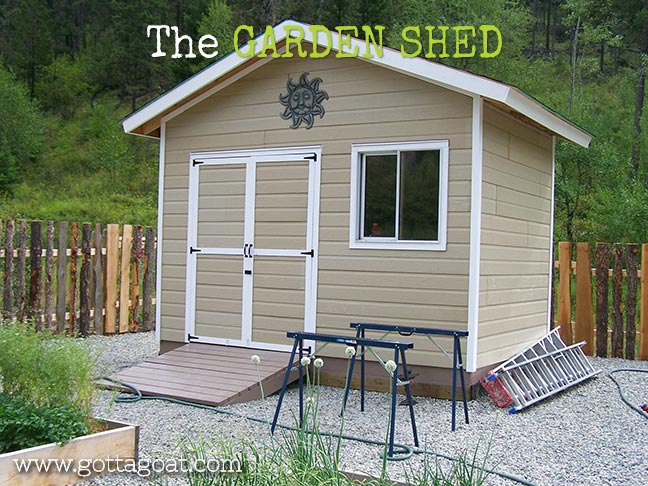
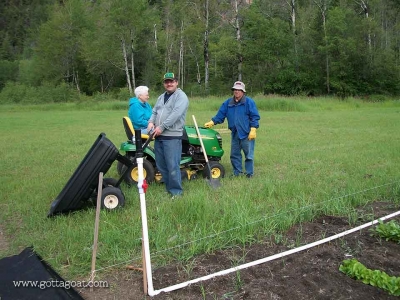
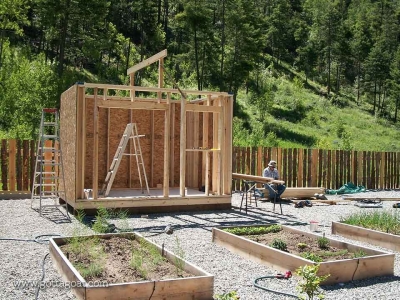
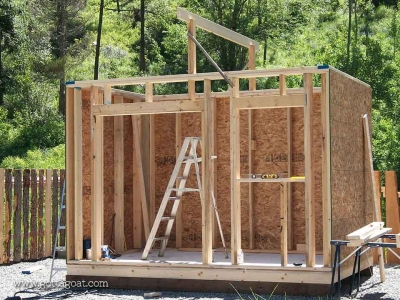
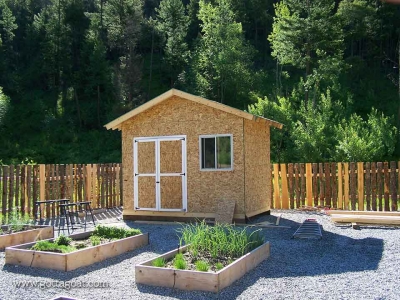
We needed a convenient place for our tools and equipment, so we designed a simple 8 x 12 ft. garden shed. My in-laws came out for a visit that year, and were a HUGE help in building this shed. They even spent some time weeding the garden!
- The shed was built on 4″ x 6″ treated skids. We built a small ramp to drive our riding lawnmower inside for the winter.
- The shed was framed using 2″ x 6″ lumber (since we had found a great deal on these from a local lumberyard).
- My step-dad had some used siding which he “donated” to us for the shed, and we found the window at a garage sale.
- We had a few shingles left from the house construction, but did have to buy a few more to complete this project.
The Greenhouse
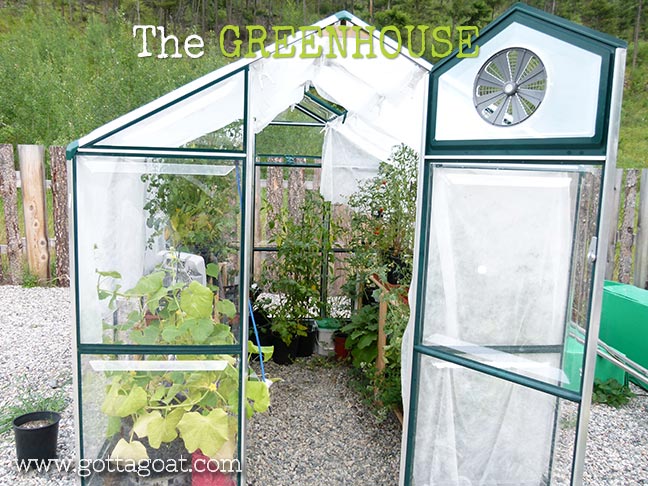
As we live at such a high altitude, we often get early frosts (we’ve even had one in late August a couple years ago). Most of the more tender plants in the garden will not survive these. Since we wanted to still be able to grow some of the heat loving plants (such as peppers and tomatoes) without losing them prematurely to frost, we installed a small greenhouse. It isn’t heated, but it does provide a little extra protection at the beginning and end of the season for a few select plants. We had found a really great deal on two 6 ft. x 8 ft. greenhouse kits a few years ago, so we incorporated them into our design. They have aluminum frames around plexiglass panels that slide into place. They also have back and side opening windows, and a vent on the front door.
We decided to start with one greenhouse, but plan to put up the second one “some day”. Unfortunately, the one we built was missing one of the plexiglass panels, so we had to take it out of the other box. If we ever get around to building the second greenhouse, we will have to figure out what to do about the missing panel!
We did, however, have to hang some shade cloth on the walls of the greenhouse (it is actually frost cloth), as the plants tend to get a little scorched when the sun comes through that plexiglass.
Garden Design Plans
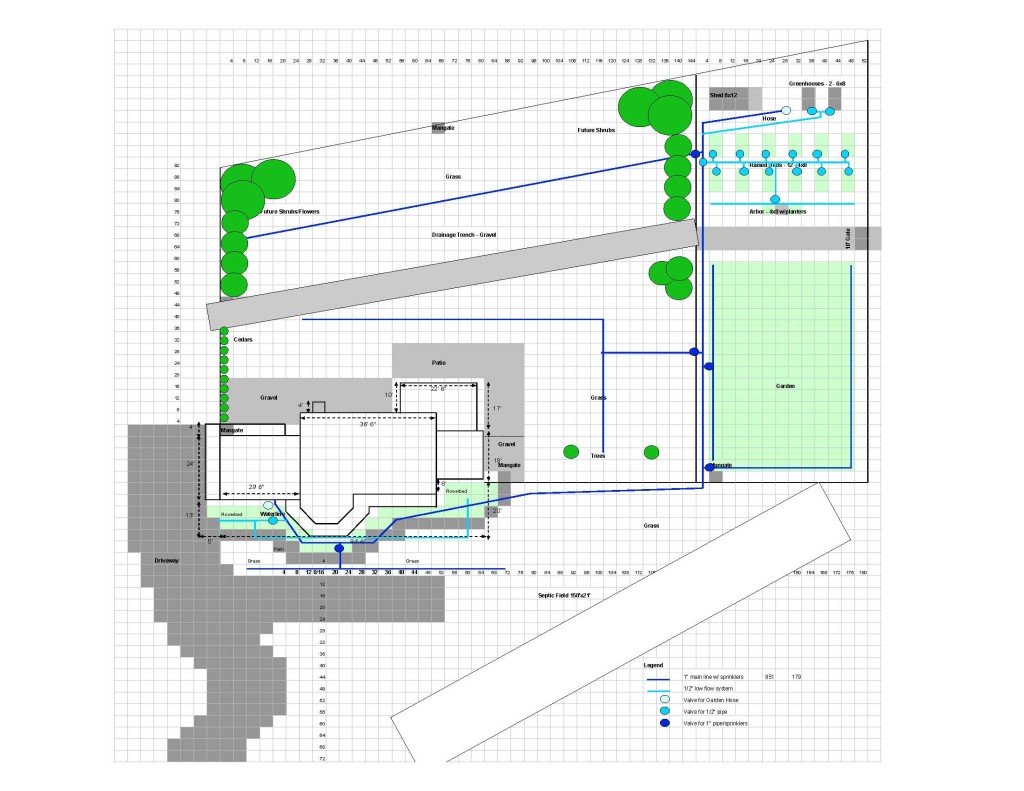
When we first started planning our garden design, I mapped our entire yard and garden layout in a spreadsheet (along with our irrigation layout, and future plans for the yard). We ended up having to make a few adjustments to our sprinkler system for the main garden bed, but most of the other items have worked out as planned. The plan below shows how our design started out “on paper“. This really helped us to visualize the overall plan beforehand, and made it much easier to figure out what we needed for our irrigation system. Click the image below to view in more detail…
More Garden Pictures
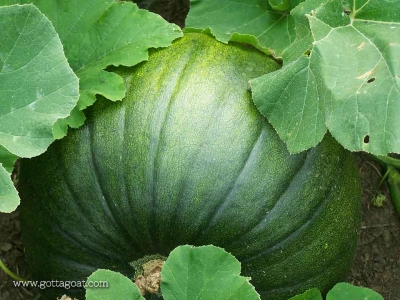
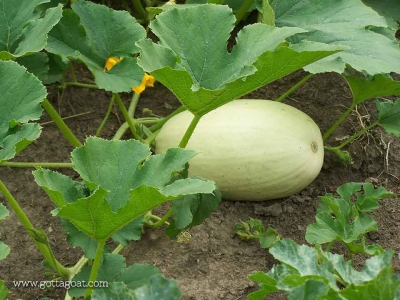
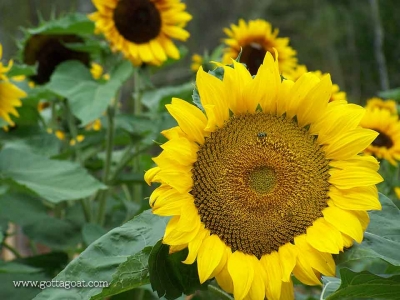
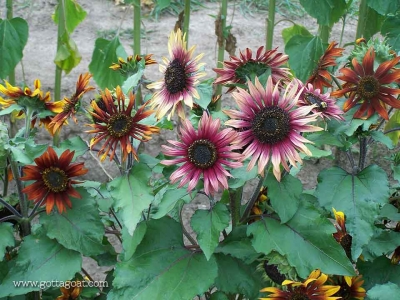
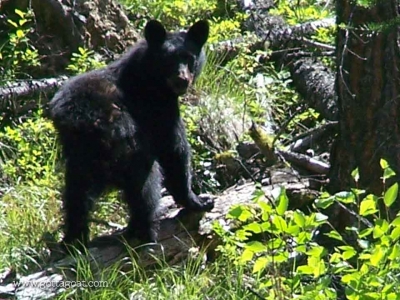
Each year brings a lot of changes to the garden. The overall design remains the same, but we try different varieties of plants, with varying degrees of success. Many of the perennials we had planted have spread into the pea gravel. For the first while, we tried to clean them out, but we have since decided to let them grow. They add a certain degree of rustic charm to the area, plus all the flowers keep the bees happy! The fence is still standing (although with the severe winds we get at times, it has actually blown off the occasional section of fence – which we run out and quickly nail back into place). And although we don’t usually have to worry much about the bears or deer coming into the garden anymore, we do have our challenges with some smaller wildlife such as chipmunks and voles. However, we love our garden, and each year it gives us a wonderful harvest that keeps us fed throughout a great part of the winter!
Click any of the thumbnails to view larger images...


Leave a Reply